Light Painting Workshop Handout
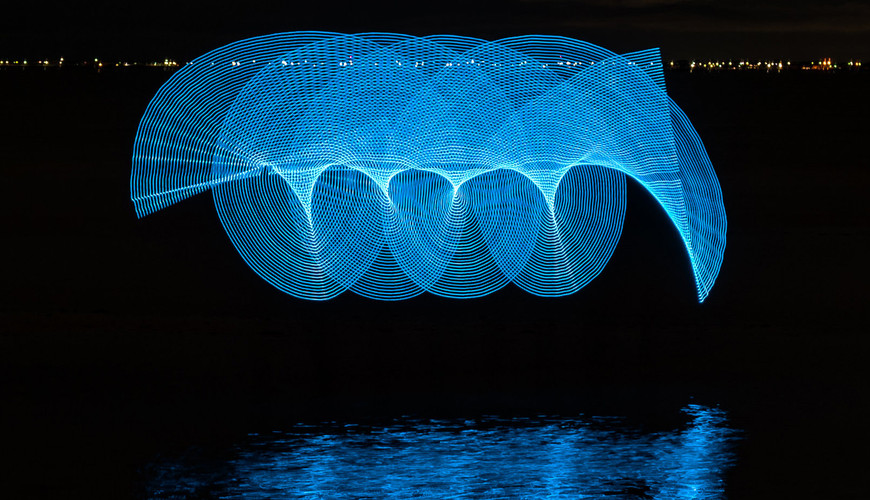
Light Painting Alton Beach © James Troi
Light painting is a lot of fun and gets your creative juices flowing to see what different and interesting patterns you can produce. Here are some tips for our light painting photo shoot on Tuesday 27th June.
Dress
It looks like it is going to be quite cold and possibly rain towards the end of the night so, from experience, the following would be advisable:
- Beanie
- Thermals
- Fingerless gloves – they will keep your hands warm but still allow you to easily operate your camera controls
- Warm hooded jacket (preferably waterproof) – even with a beanie you may still feel cold
- Waterproof pants
- Waterproof footwear such gumboots or rubber shoes – so you can have a try at using the light painting tools which may require you to walk through water a couple of centimetres deep.
Camera gear
- Camera with battery fully charged
- Spare battery – as you will be using time exposures and it will be cold, your battery will discharge more quickly
- Suitable lens – wide angle zoom such as 24 – 120mm, 15 -30mm are ideal but a prime lens around 35 – 50mm will suffice. (the wider the better as the light painting may cover a reasonably large area)
- Wireless or wired remote trigger or a cable release if you have one
- A sturdy tripod - If your tripod is light weight, a bag of sand/rocks or your camera bag can be attached to the bottom of the centre column (several tripods have a hook for this purpose)
- A torch or headlamp.
Camera settings
- Camera set to Manual mode
- Lens set to manual focus (turn off Vibration Reduction or its equivalent for your brand of lens)
- Set ISO to 100 (Auto ISO turned off)
- Shutter speed set to “Bulb” (if you have a cable release or remote trigger)
- If you don’t have a wireless remote or cable release set your camera’s timer to 10 sec delay before shutter release and select the time you want the shutter to remain open e.g.15seconds;
- Aperture set to F11
- White balance set to auto
- Adjust your camera on the tripod so that:
- it captures the reflections in the water as well as the light painting
- it covers the whole range of movement of the person using the light painting tools.
If different tools or options are to be used we will update you on what camera settings to use.
Explanation for the selection of recommended camera settings
Camera on manual
Reason being that it is absolutely necessary that you choose BOTH the aperture and the shutter speed. Light painting is one of those circumstances where it is impossible for your camera to get settings correct if set in fully auto mode or any semi auto modes.
Manual focus
It is necessary to focus on a point where the lights (painting) will be switched on. A member will stand at that point (in the water) and illuminate themselves for you to get the correct focus. You should already have the lens at the right zoom setting (30mm, 50mm, 70mm etc.) when focusing because zooming in and out will change the focus. Tip - you can trust your eyes or use your auto focus first and then flick it over to manual being careful not to touch the focus ring. If you sit on the one zoom setting you should only have to do the focus exercise once. If the light source changes dramatically in size and you need to alter the zoom setting a focus exercise could be repeated.
ISO 100 (Auto off)
An ISO of 100 is determined appropriate as we know that with the chosen Aperture and shutter speed, sufficient light will be recorded (proven fact) on ISO 100. If auto ISO was used the camera would set an extraordinarily high ISO because there is a large area that is near pitch black. It does not know in advance what is about to happen with light being waved around. Image would blow out in lit area and be grainy - so OFF is a must.
Shutter speed to bulb / Long Exposure time
If you have a cable release Bulb timer setting allows the operator to switch on exactly when the lights commence - you hold the remote trigger down with your finger (or lock it down) and then release it as soon as the lights stop (finger release or lock release). This way you get no intrusion before lights start or after they are switched off - this is a perfect scenario. You can hold the camera shutter down in bulb setting with your finger however you will certainly make the camera move while doing this (shivering is certain). A cable release is a cheap investment.
If you do not have a cable release. Pressing the shutter button exactly when lights start has a small risk of you vibrating your camera. Given that we are taking lights moving all over the shop - I don’t think the risk is worth worrying about. The alternative of using a 10 second delay may see you missing the start of the lights. If you are setting your timer to a specific 15 seconds or 30 seconds shutter opening, you may see the lights go off while your shutter remains open. Having a black/dark clothe to drop over the front of your lens would avoid any ambient light getting in before your shutter closes.
Aperture F11
This is a proven sufficient opening to let the correct amount of light in.
If the light source remained stationary it would blow out - remember that the light source remains in the same place for a split second as it is constantly on the move. A larger aperture towards 2.8 would therefore let in way too much light causing blow out. A smaller aperture towards 32 would not let enough light.